
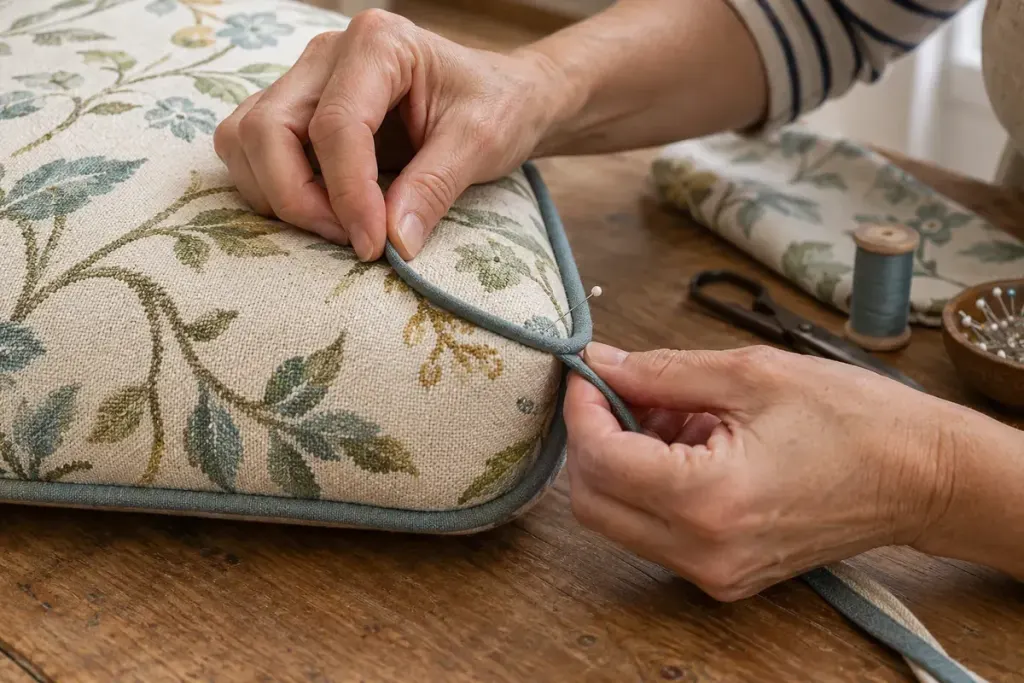
Piping can follow a straight cushion edge neatly and then bunch at the first corner. The cord, its covering and the cushion seam all need to turn in a small space. A tidy result begins with planning that turn rather than pulling the fabric harder.
Check the pattern’s seam allowance and the dimensions of the piping tape. Its raw edge is not always positioned at the same distance from the cord as your pattern’s seam line. Align the intended stitching line instead of assuming every raw edge should be perfectly flush.
Try one corner on scrap fabric
Use the same fabric layers and piping that the real cover will contain. Mark the seam line and corner point. Baste the piping in position, keeping the cord on the appropriate side of the line, then inspect how the tape behaves around the turn.
Where the construction requires it, small clips in the tape’s seam allowance can let it spread around a curve. Keep cuts away from the stitching that encloses the cord and from the visible cover fabric. Thick cords may need a gentler corner than a very fine piping.
A test corner reveals whether the problem is placement, bulk or the shape you are asking the material to make. It is easier to adjust the plan on a small sample than after sewing all four sides.
Sew for the finished shape
Use the foot and needle appropriate to the machine, fabric and piping, following the machine’s instructions. Keep fingers away from the needle path and work slowly through bulky sections. Do not force layers that the machine is struggling to feed.
Before trimming seam allowances, turn the sample and examine it from the outside. Look for a consistent cord edge and a corner that turns without an obvious pleat. Make any stitching correction while the allowance is still available.
Finally, test the cover with its intended insert. A corner that looks sharp while empty can behave differently under tension. The sample should help you choose a construction that suits the actual cushion, not merely produce a neat line on the sewing table.